1. Introduction
In this guide I’ll be showing you how to pull a docker image, exec into the image to make changes, move files from your local PC inside the container using the cp (copy) option , commit (save) the changes you have made to your image, and tag/push (upload) files into your Azure Container Registry.
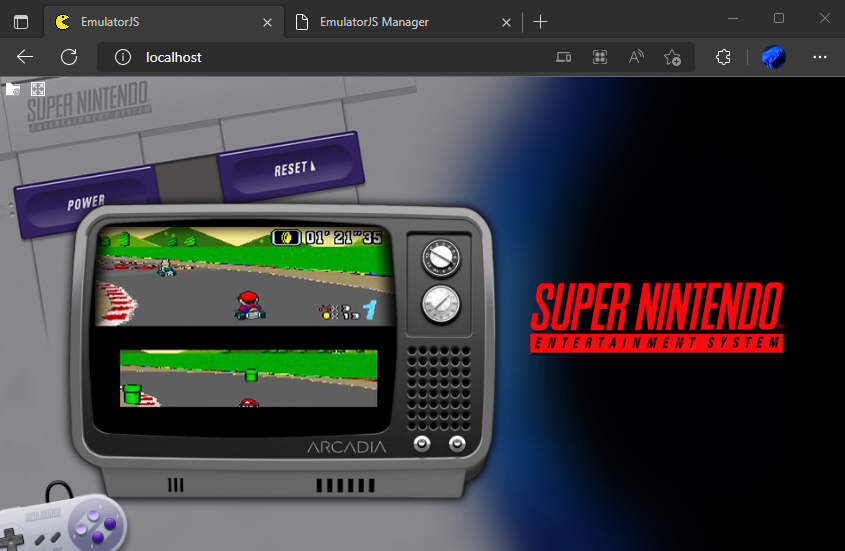
We’re going to set up container running RetroArch that can be played from a web browser. This way you can play Retro games from your Phone, Computer, Game Console via the browser, and even your TV. If you want to learn more about this project head over to: https://docs.linuxserver.io/images/docker-emulatorjs
2 Requirements
- Azure CLI
- Docker Desktop
- Azure Container Registry (optional) The ACR is running on Azure so if you don’t have an account or subscription, you can set up a free trial here https://azure.microsoft.com/en-us/free/ which includes $200 limit for 30 days.
2.1 Installing Azure CLI
In this guide we will be using Azure CLI instead of Cloud Shell. The reason for this is that since we’ll be using Docker to create and push images to the Azure Container Registry it would be best that we have one single location to execute all the commands and steps to prevent confusion.
You can install Azure CLI on Windows, Linux, and Mac OS. Please follow the steps in the link below to install it on your PC. Once installed you can use any terminal available in your OS to run azure commands.
https://docs.microsoft.com/en-us/cli/azure/install-azure-cli-windows?tabs=azure-cli
2.2 Azure CLI login
After installing the Azure CLI, run the following command to Log in to your Azure Subscription. On Windows for example you can use Powershell or command prompt, on Linux/Mac OS you can use Terminal
az login
This command will open an Internet Browser automatically and ask you to log in onto Azure with your credentials to authenticate.
Another option to login is to use the option ‘ –use-device-code ‘ which will allow you to authenticate from any device as this command will ask you to open a browser and go to ‘https://microsoft.com/devicelogin’ and enter a code to authenticate. You might also see this prompt without the device code option depending on where you are executing the ‘az login’ command, no need to worry, just follow the steps mentioned.
az login --use-device-code
2.3 Installing Docker
Now let’s install Docker. This can be installed as well on Windows, Linux, and Mac OS by following the guide:
https://docs.docker.com/get-docker/
After installing and running docker, you can double check that docker is running by executing below command. If an error is displayed docker is not running and you might want to start it. This command is to list running containers, but since we have nothing currently running then no output will be displayed.
docker ps
2.4 Azure Container Registry Login
I’ll show you how to push the modified image to an ACR, but it’s not really needed for this guide as the main purpose is simply to learn how to use docker to create custom images.
If you do not already have an ACR (Azure Container Registry), please review my guide on creating your own ACR which is available here: https://ramirez.cr/acr/
Once you have your ACR created, you will need to log in via CLI to your registry, this will allow you to push images to your registry. You can do this by running below command, just replace your registry name.
az acr login -n myRegistry4567
3 Pulling a base image with Docker.
Before you can edit an image, you first need to pull (download) an image to edit. Depending on your needs that would be a web server, or a base alpine image, or even ubuntu.
In this case thought we’re going to pull an existing image called EmulatorJS, which will already have retroarch and the web server configured. To do this, simply run below command.
docker pull lscr.io/linuxserver/emulatorjs:latest
It will look something like this:
docker pull lscr.io/linuxserver/emulatorjs:latest
latest: Pulling from linuxserver/emulatorjs
f9a959091e56: Pull complete
ef23ff6c8ec4: Pull complete
dfb0554bc149: Pull complete
c6e0fbe8e31b: Pull complete
e3e13681ce0a: Pull complete
fa8afe348265: Pull complete
3260f2cfaa77: Pull complete
464fe9e546fb: Pull complete
072e41bab3a7: Pull complete
f65844a66eb6: Pull complete
Digest: sha256:be3bc70d2365af40dd7f8518237c4c58ec20903ef62cebb10a9550378b8b6f5d
Status: Downloaded newer image for lscr.io/linuxserver/emulatorjs:latest
lscr.io/linuxserver/emulatorjs:latest
You can view downloaded docker images using the command below:
docker images
4 Running the Docker Image
Now that it’s downloaded let’s go ahead and run it with below command: (This one does have a few requirements to work correctly and the flags below are said requirements. PUID is the user ID with the required permissions, followed by the network ports for everything to work, both the web portion (frontend) on port 80 and backend on port 3000.)
docker run -d --name=emulatorjs -e PGID=1000 -p 3000:3000 -p 80:80 lscr.io/linuxserver/emulatorjs
After executing it, we can view all running containers with below command:
docker ps

CONTAINER ID   IMAGE                            COMMAND   CREATED         STATUS         PORTS
                                                NAMES
d388e4a68634   lscr.io/linuxserver/emulatorjs   "/init"   7 seconds ago   Up 6 seconds   0.0.0.0:80->80/tcp, :::80->80/tcp, 0.0.0.0:3000->3000/tcp, :::3000->3000/tcp   emulatorjs
Take note of the CONTAINER ID listed in your command output as we’ll need this later.
5. Download the App’s needed files
Now that we have the running container if you access the address http://localhost/ on your browser you will see a blank screen. This is because the application needs to download a few things, let’s do this first before we continue with the image changes.

To add the app’s needed files simply head over to http://localhost:3000 in a new tab and click the Download button.

6. Exec and Copy Files into the Running Container
With the CONTAINER ID from Step number 4, run below command to access the container via CLI.
docker exec -ti d388e4a68634 bash
Now you are inside the running docker container. Since this is running an emulator, we’re going to need to add some games. If you are not familiar with bash let me share a few commands and directories we are going to need.
This app can run many different games from consoles like Super Nintendo, Play Station 1, Game Boy Advance, etc. To view the full list run below command, this will show all of the directories where you put the games in.
cd /data/ ; ls
I’m going to guide you to put some games in one of these locations, but feel free to add all of the games you wish to use.
Please keep in mind that you should only backup and run games that you already own physically. If you are unsure where to get these files then https://tinyurl.com/try-a-google-search
For this guide though I’m just going to focus on SNES.
Access the folder that we are going to copy the games to:
cd /data/snes/roms ; ls
You will notice that it’s currently empty. In another terminal we’re going to copy a game in this folder using below command.
docker cp "C:UsersAlfredo RamirezDoom.smc" d388e4a68634:/data/snes/roms
Notice that we are using ‘docker cp’ followed by the files you want to upload to the container and finally the CONTAINER ID / colon / and the path of where you want the files to be uploaded to.
Switch back to the terminal that you ran ‘kubectl exec’ on and re-run the same command as before, you will now see the file inside the container.
cd /data/snes/roms ; ls

total 2048
-rwxr-xr-x 1 root root 2097152 Jun 28  2003 Doom.smc
Now we need to make a change to the file permissions, to match the application’s requirements, so run below command to fix the permissions:
chown abc:users /data/snes/roms/* ; ls

total 2048
-rwxr-xr-x 1 abc users 2097152 Jun 28  2003 Doom.smc
7. Download Rom Art
Head back to the browser and go to http://localhost:3000/ , then click on Rom Management and then the “Scan” button for the “snes” folder.

This will show now that there is 1 Rom and Scanned is also 1. You must of noticed that the snes box has appeared as well on the Left side.
Click on the snes box, followed by Download All Available Art under Step 1.

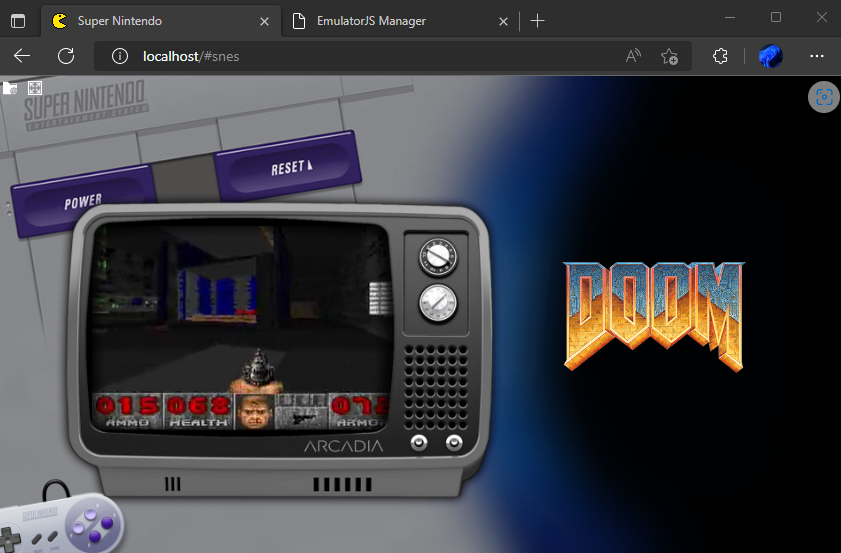
If you access the http://localhost/ once again, you will notice that everything is up and ready, with the correct backgrounds and images.
Adding more roms on different console folders will result them showing up in this menu. Clicking on the console will then show all of the games for each console on the second screen.


Try the game out, you can use the keyboard or gamepads to play.
8. Commit your modified Image
Now we commit the image. This means that we will create a new container image from the one that is currently running. All of the changes and uploaded/downloaded files inside the image will also be saved in the new image. We will also give it a new name.
In order to do this we can use the format below.
Modify the CONTAINER ID to match your running container id. The container name (retro) and tag/version (0.1) that I used can be changed as well in the command below.
docker commit d388e4a68634 retro:0.1
That’s it! You have made your fist container image. Now if you wish to upload it to your container registry tag and push the image with below commands:
Tag the new image and place your complete ACR name with the same image details.
docker tag retro:0.1 myRegistry4567.azurecr.io/retro:0.1
Now to push your image to the registry run below command:
docker push myRegistry4567.azurecr.io/retro:0.1
If you get an Authentication error, this means that the ‘az acr login’ command has expired.
unauthorized: authentication required
Run the ‘az acr login’ command again and re-run the ‘docker push’ command;
az acr login -n myRegistry4567

docker push  myRegistry4567.azurecr.io/retro:0.1
It might take a bit of time depending on your internet speed, but when it completes your new custom image has been uploaded to your Registry.
9. (Optional) Yaml file
If you would like to deploy this image on an AKS cluster you can find the yaml file below. Modify your Registry and the IP for your LB. The IP needs to be created inside your cluster’s MC_ RG.
For more details on how to deploy a yaml on an AKS cluster please check out my AKS guide available here: https://ramirez.cr/aks-minecraft-server/
apiVersion: apps/v1
kind: Deployment
metadata:
  name: retro
  labels:
    app: retro
spec:
  replicas: 1
  selector:
    matchLabels:
      app: retro
  template:
    metadata:
      labels:
        app: retro
    spec:
      containers:
      - name: retro
        image: myRegistry4567.azurecr.io/retro:0.1
        ports:
        - containerPort: 80
---
kind: Service
apiVersion: v1
metadata:
  name: retro-lb
spec:
  type: NodePort
  selector:
    app: retro
  type: LoadBalancer
  ports:
    - name: http
      protocol: TCP  #keep this as TCP
      port: 80
  loadBalancerIP:  000.000.000.000
10. Conclusion
You made it to the end. Sure, the actual Pull/Exec/Commit/Tag/Push commands weren’t that complicated for such a long guide, but now you have a web accessible Retroarch image as well. Game saves will be deleted on pod restarts, so if you want the save files to be kept after a reboot you can look at mounting the game save folder to a an external Storage, like a cifs share. A similar procedure can be found in my AKS guide but I’ll leave that for you to try on your own. DM me on twitter if you need any help. Keep an eye out for additional guides in the near future.
Who said you can’t learn while playing games?
